Single-Camera Recording
Introduction
We recommend that everybody starts by creating a single-camera recording and reconstruction of their movement before moving on to more complex tasks like multi-camera calibration and reconstruction.
Installation
Follow the Installation Guide to install the FreeMoCap software
Launching FreeMoCap
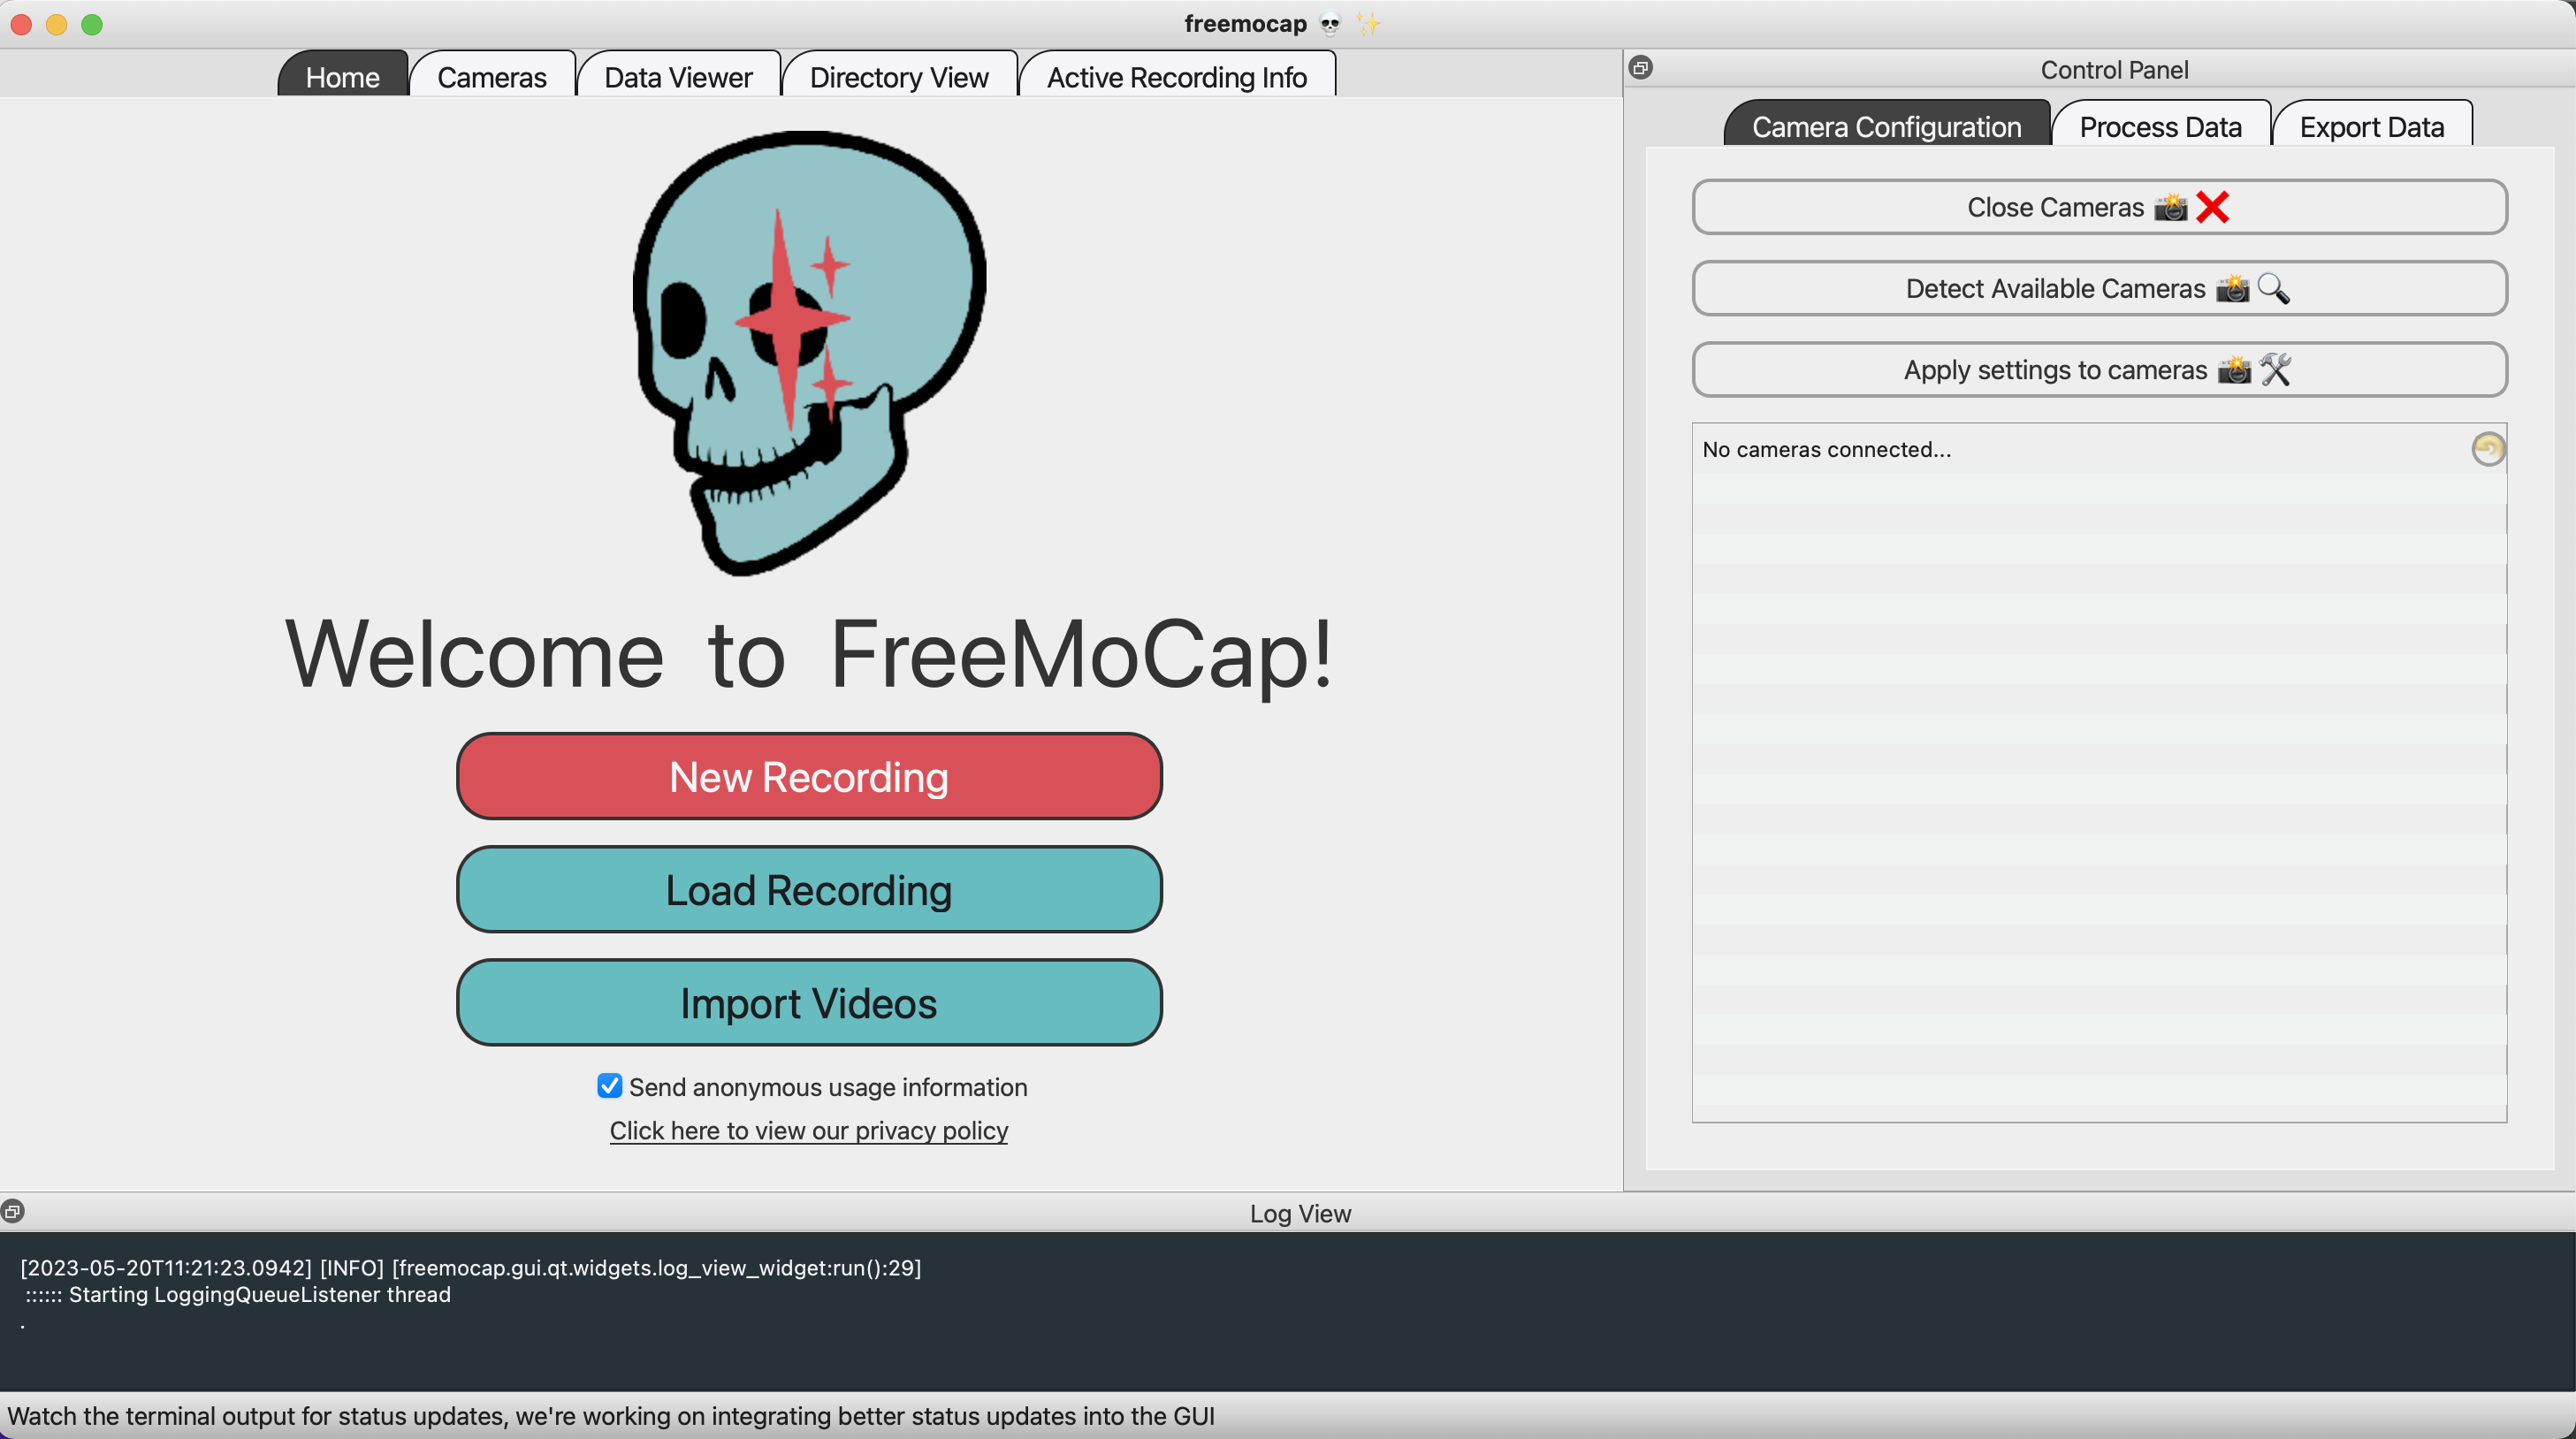
Launch FreeMoCap from the terminal by activating the relevant Python environment and typing freemocap into the terminal, then press Enter. At that point, the GUI should show up, which will look like this:

Click the friendly button that says "Start a New Recording" and then click the button that says "Detect Cameras" :
Camera Detection
The software should locate your cameras, and once they're connected, it will show a viewpoint from the connected camera in the GUI. You can adjust the settings in the sidebar and then click "Apply Settings to Cameras" to apply them.
Tips: Exposure and Framing
Recording
Because you're doing a single camera recording, you don't need to do any calibration. But when you do graduate to multi-camera recordings, this is where you would get out a Charuco board and run a calibration first. We're all clear to record our motion capture for now though.
Click "Record" and go into the field of view to perform some kind of movement. Then click "Stop", and it should process automatically from there. When it's done, it will pop up a Blender scene if Blender was properly detected and populate the folder with the output files!
3D Data with Multiple Cameras
Now that you have gotten the process working with a single camera, it's time to try multiple cameras. You can start with our Multi-Camera Calibration Guide.