Installation
FreeMoCap offers two easy ways of installing our software: through pip, Python's package manager, or by using our dedicated PyApp installers, which manage the environment creation and installation for you, acting like a dedicated executable or app. Both ways of installing FreeMoCap give you the same features, so choose whichever is easiest for you. And of course, our source code is always directly available on our GitHub.
Detailed Pip Installation Instructions
Step 1 - Open a terminal window
Press the `Windows key`, type "Anaconda Prompt", and press Enter.
Press `command + spacebar` and type "terminal" and press Enter.
Press `ctrl + alt + t` to open a terminal window.
Step 2 - Create a new Python environment
To create a new Python environment with the recommended version 3.12, type the following text into the terminal and push Enter:
After creating the environment, activate it using:
Now your terminal is set to operate within the freemocap-env environment.
Step 3 - Install FreeMoCap software
Type the text below into the Terminal and press Enter:
A bunch of text should stream by for while, and when it is done, enter the command:
With any luck, the GUI window should pop up!
Keep an eye on the Terminal window, as it will provide useful information as the software runs.
To install FreeMoCap from the source code for development purposes, you will need to clone the repository from GitHub and install it in editable mode using pip. Here is the step-by-step procedure to do so:
Open a Terminal.
Clone the FreeMoCap repository using git:
Navigate to the cloned repository directory:
Install the package in editable mode with the following command:
Run the software by entering the command:
... or the equivalent
Detailed PyApp Installation Instructions
Step 0 - Download the Release
To begin, download the latest release from our Releases Page
You'll find one zip file for each major operating system: Windows, Mac, and Linux. Make sure you choose the release for your system.
The Windows release does not work on Windows 11. If you are on Windows 11, please follow the pip instructions above.
The Mac release works on both Intel and Arm macs.
The Linux release is made on Ubuntu, but should work on any major distribution. Please let us know if it won't run on your distro.
Step 1 - Unzip and Move App
Unzip the app using your chosen method and drag the Skelly icon to where you want FreeMoCap to live, for example your Desktop or Applications folder.
Step 2 - Run (and Wait!)
Now, just double-click the installer to run it, and wait for the window to open. The first time you open the installer, it will download FreeMoCap for you. Be patient, as this will take 5-10 minutes depending on your internet connection.
Don't exit out of FreeMoCap during its initial download, or it won't install correctly. If the download does get corrupted, you can run the "Restore" command from Step 3 below to fix the installation.
As an application/executable downloaded from the internet, FreeMoCap will likely be flagged by your system's security settings. You will likely need to approve FreeMoCap through your system settings to run it for the first time.
On a Mac, the first time you open the app, it will tell you it is from an unidentified developer and ask if you would like to move it to the trash. Close out of that window, right-click the app, click Open, and choose to open the file. Once you have done this once, you can open the app as normal in the future. For more information, see the official Apple documentation.
Step 3 - OPTIONAL: Delete, Update, or Restore the Installer
The installer has a handful of management command that can be run in a terminal by using the path to the executable as the start of the command (referred to below as {EXECUTABLE_PATH}). On Mac, you need to add /Contents/MacOS/freemocap_app to the freemocap.app path to get the below commands to work.
To delete the installed version of FreeMoCap, you can run
This will delete all of the data associated with the executable (but not your freemocap_data folder), and then you can manually delete the executable or app.
To update the installed version of FreeMoCap, you can run
This will update to the latest release of FreeMoCap.
If you have installed FreeMoCap through the installer but it will not successfully run, something may have happened during the installation process. You can try running
which will delete the associated installation files and reinstall them. Ensure you give enough time for the installer to fully download when restoring.
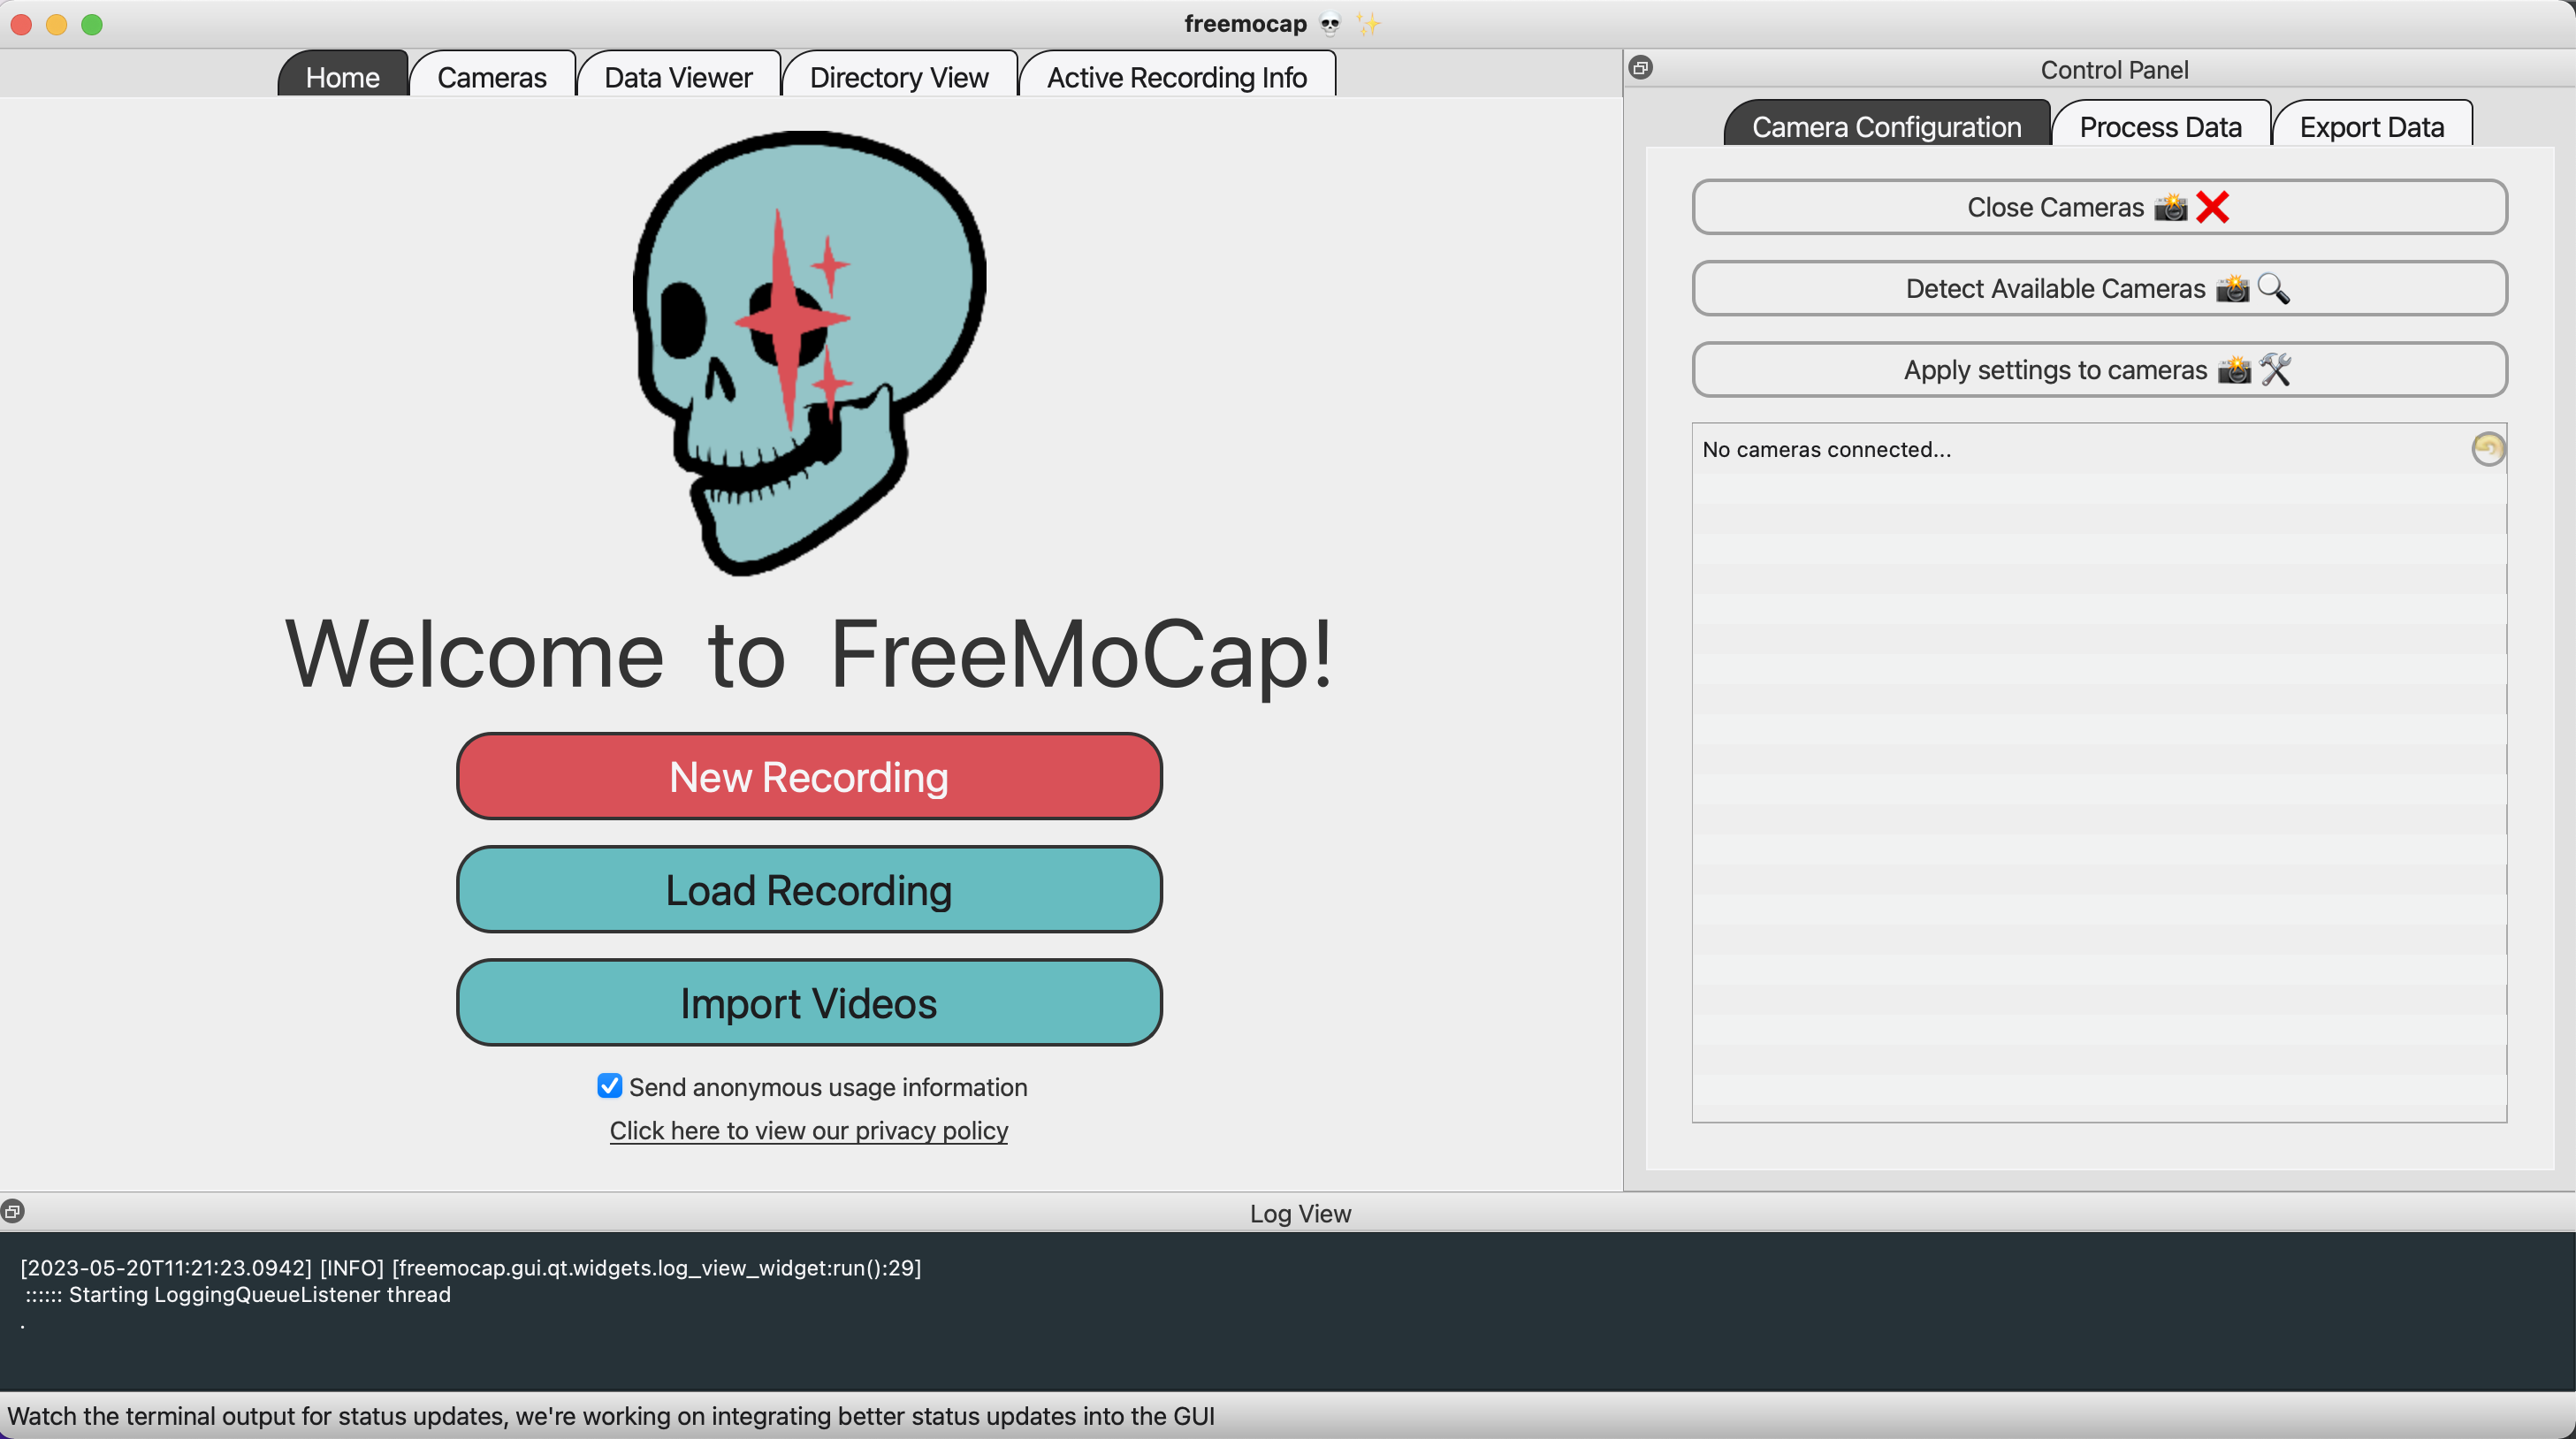
If all goes well, a GUI Window with Skelly's face should pop up, looking something like this:

Congrats, you're in! 😎
After following these steps, you should have FreeMoCap installed and ready to use!
You're ready to get 👉 Your first recording!