Installation
QUICKSTART
If you're already familiar with Python environments and package installation, you can get started with FreeMoCap by simply:
1. Create a a Python 3.9 through 3.11 environment (python3.11 recommended)
2. Enter command: pip install freemocap
3. Enter command: freemocap
...and you're off to the races!
Detailed Installation Instructions:
0. Install Anaconda (or Miniconda) if you haven't already.
Python Environments
If you are not familiar with Python environments, here's a nice guide from Real Python.
We recomend low XP folk use conda to manage their python environment because its the easiest to set up, but you can use whatever method you like.
Personally, I use poetry 
1. Open a terminal window
Press the Windows key, type "Anaconda Prompt", and press Enter.
Press command + spacebar and type "terminal" and press Enter.
Press ctrl + alt + t to open a terminal window.
2. Create a new Python environment
- Create a new Python environment (verions 3.9 through 3.11 recommended). To do so, enter the following command in your terminal:
conda create -n freemocap-env python=3.11 -y
Breakdown of the conda create command
This step creates a new installation of Python on your system that will be used to run the code behind the FreeMoCap software!
Here's a breakdown of what's happening in this command:
conda create -n freemocap-env python=3.11 -y`
-
conda: Thecondapackage manager (i.e. the program that will execute the command that we send it) -
create: The command to create a new environment -
-n freemocap-env: Set the name of the new environment tofreemocap-env(note:-nis short for--name) -
python=3.11: Install Python version 3.11 into the new environment -
-y: Automatically answer "yes" to any prompts that come up during the installation process
So, all together, this command is saying:
"Hey, Conda! Please create a new environment named freemocap-env and install Python version 3.11 into it. If you need to ask me any questions during the process, just answer 'Yes' for me."
Enter conda --help or conda create --help into your terminal to learn more about the conda command and its options.
For more information about Python environments, check out this guide from Real Python
- Activate that newly created environment
conda activate freemocap-env
3. Install software
pip install freemocap
git clone https://github.com/freemocap/freemocap
cd freemocap
pip install -e .
4. Launch the GUI
To launch FreeMoCap, enter the command freemocap into the terminal, like this:
freemocap

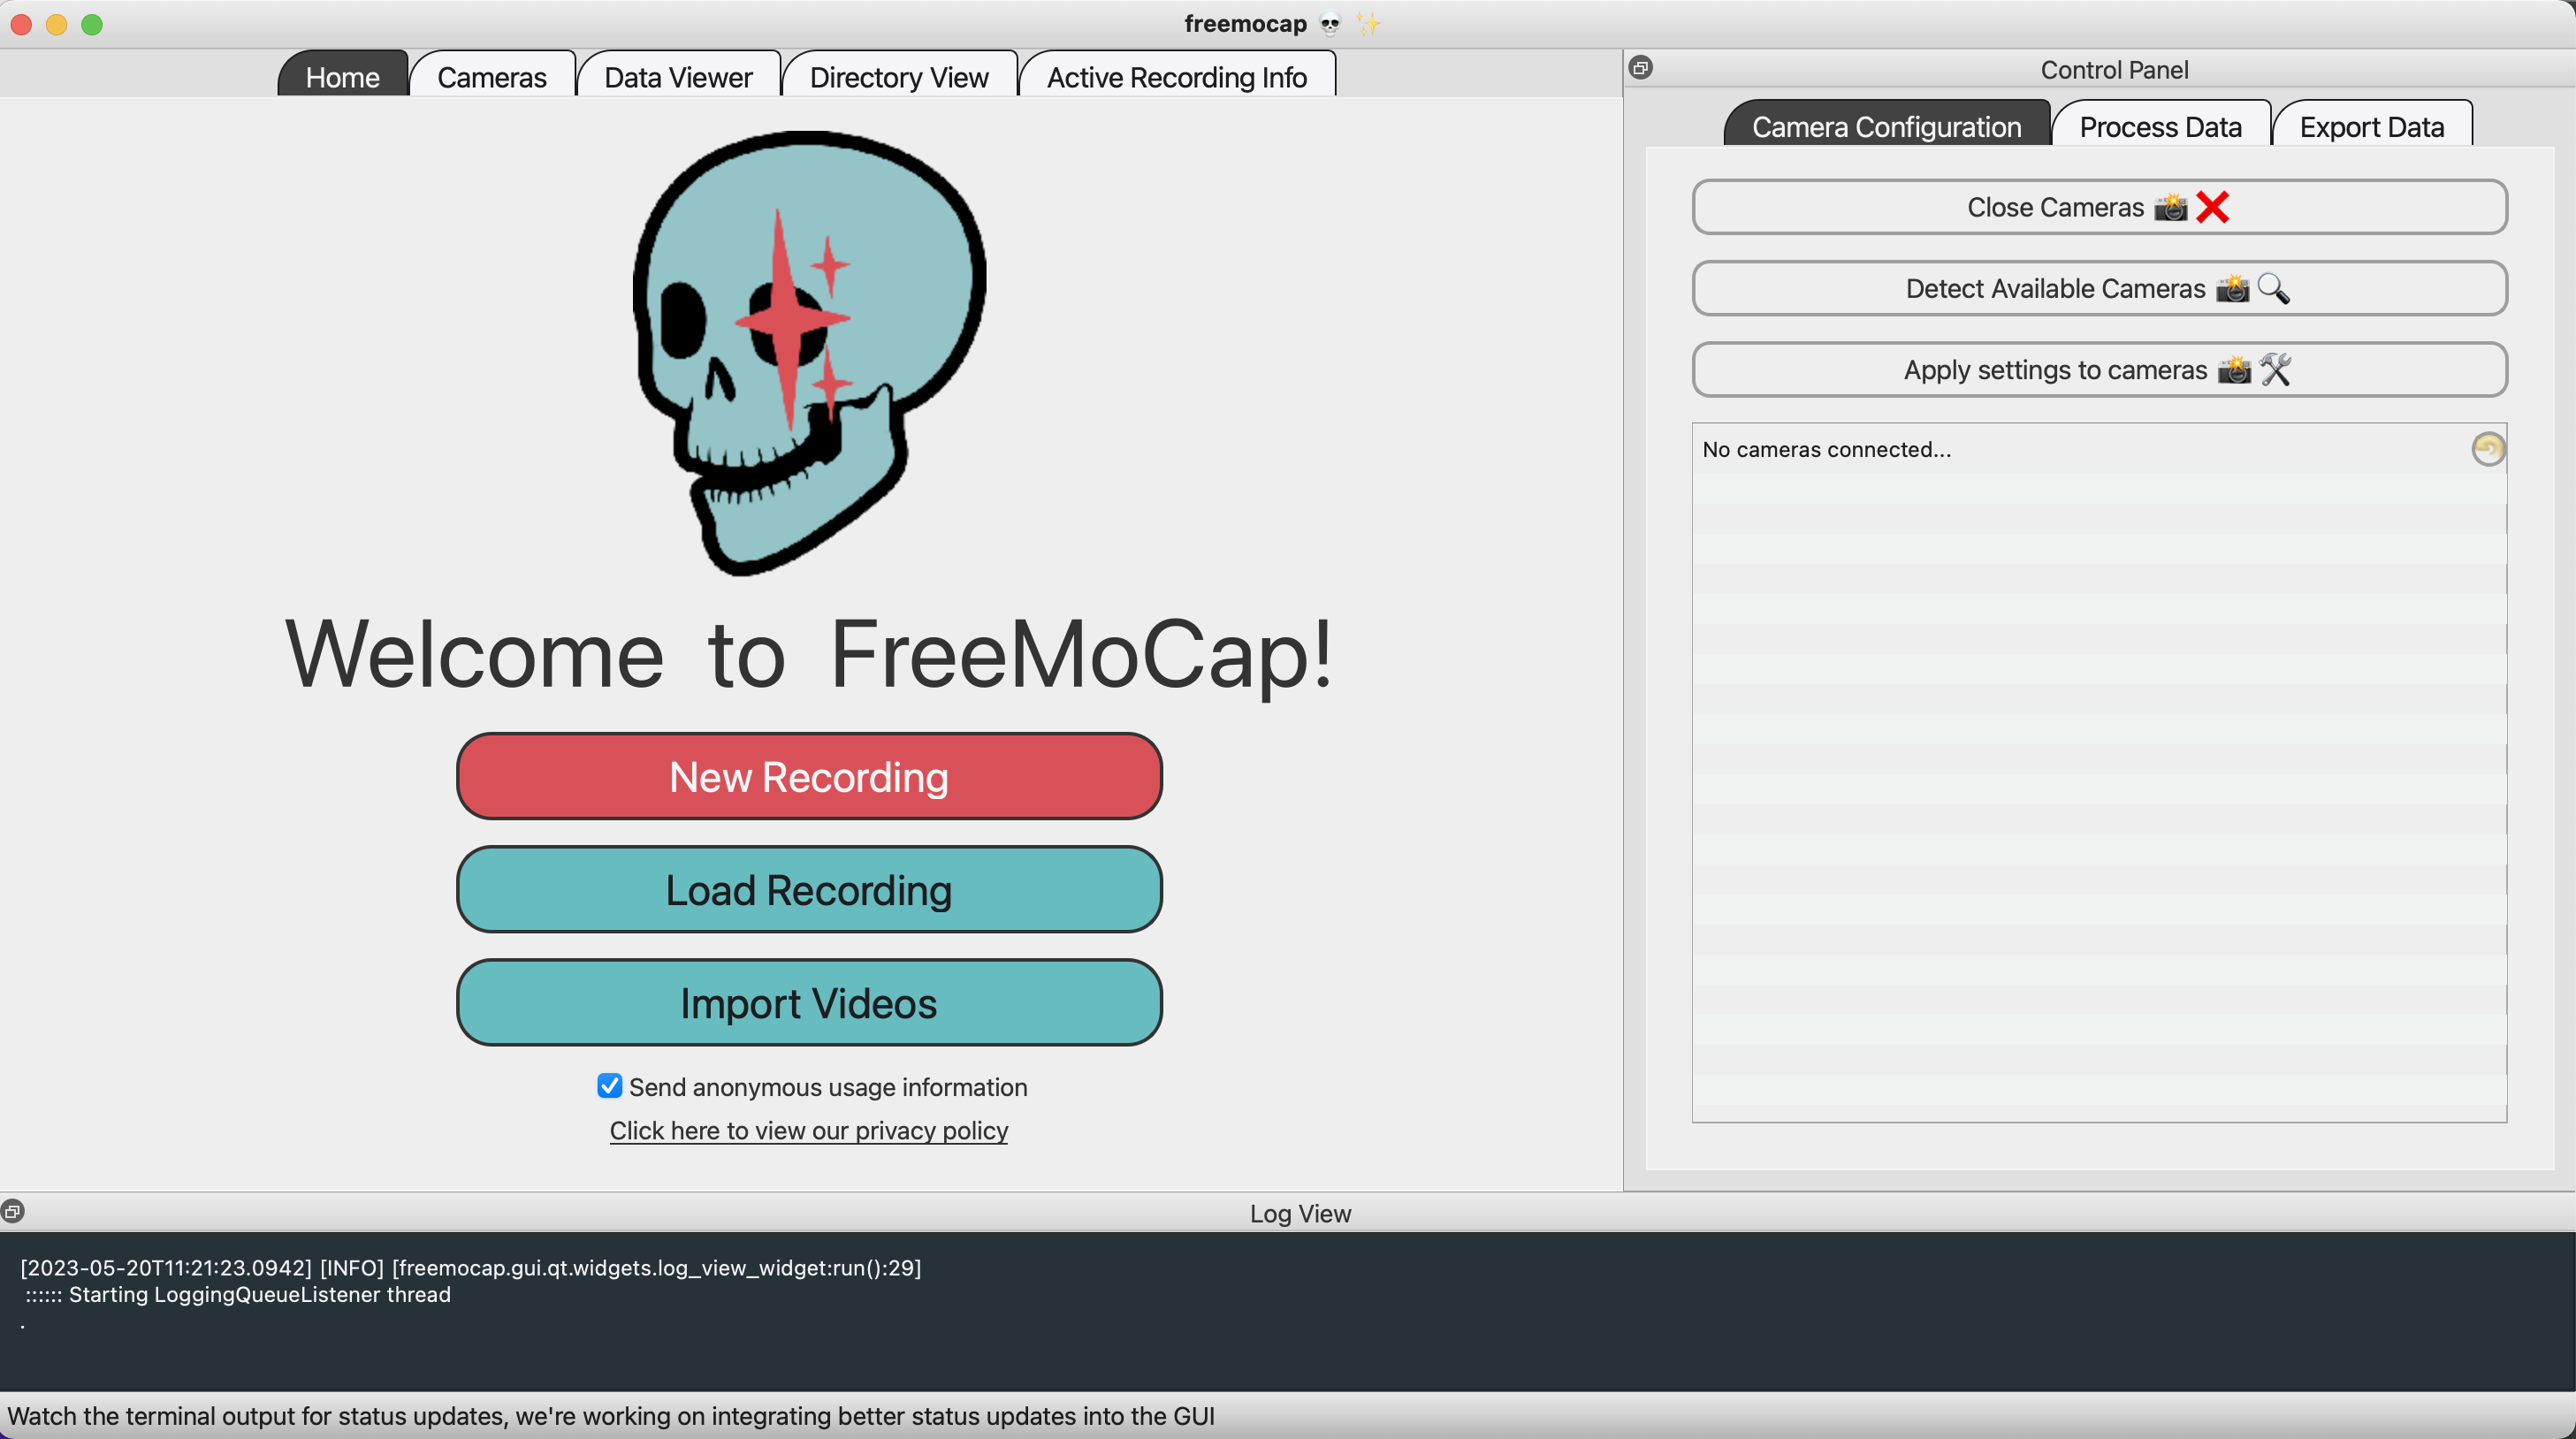
Once freemocap is entered into your terminal, a GUI should pop up that looks something like this:
Congrats, you're in!  
Now that you've got FreeMoCap installed, you're ready to record your first motion capture session!
The first step is to set up your environment for motion capture and connect your cameras
